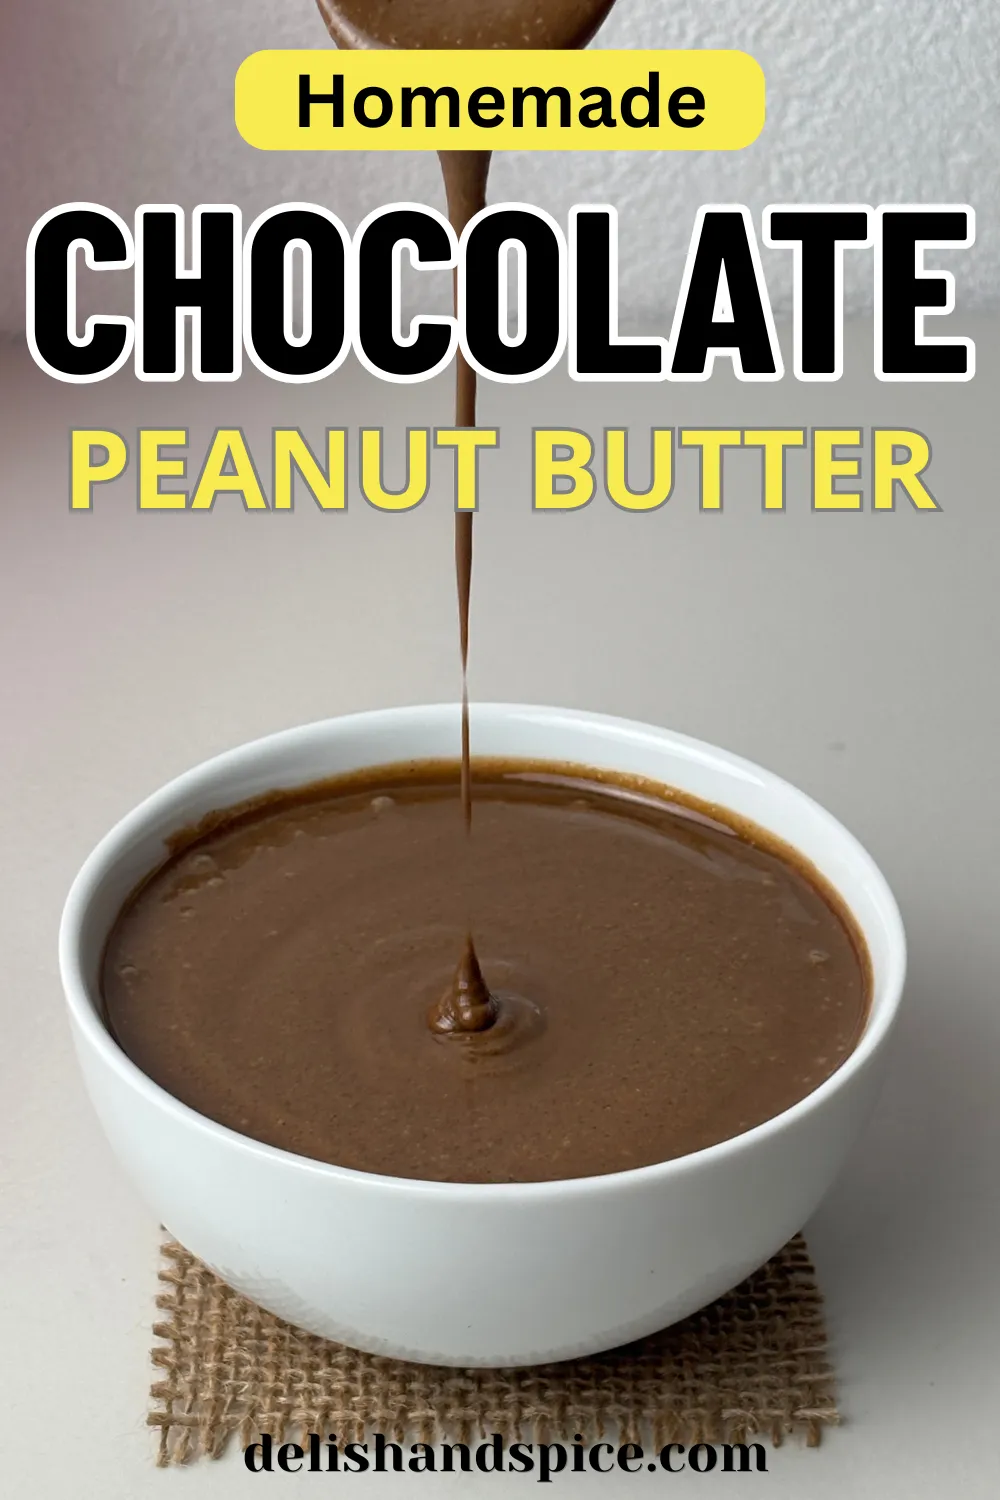
Homemade Chocolate Peanut Butter Recipe
Please read our Privacy & Disclosure Policy disclosure policy.
Chocolate peanut butter is one of those simple homemade treats that feels comforting from the first spoonful. The deep flavor of chocolate blends with creamy, nutty peanut butter to create a smooth spread that tastes rich without feeling complicated.
You can enjoy it on warm toast, pancakes, waffles, sliced bananas, smoothie bowls, or use it as a quick topping for desserts. It also works well when you want something sweet but homemade instead of store-bought.
This recipe is beginner-friendly because it uses everyday ingredients and does not require any special cooking skills. With just a few easy steps, you can make a creamy chocolate peanut butter spread that is perfect for breakfast, snacks, dessert toppings, or a simple treat when chocolate cravings hit.
Ingredients You Need for Chocolate Peanut Butter
Making homemade chocolate peanut butter starts with a few simple ingredients that create a rich, creamy, and naturally nutty spread. Each ingredient plays an important role in the flavor, texture, and smoothness of this easy chocolate peanut butter recipe.
Raw Peanuts: Raw peanuts are the heart of this recipe. They give the spread its natural nutty flavor and help create the thick, creamy texture that makes homemade peanut butter so satisfying.
Chocolate Chips: Chocolate chips bring sweetness and a smooth chocolate flavor to the peanut butter. Once melted and blended with the roasted peanuts, they help create a creamy spread that feels rich without being complicated.
Cocoa Powder: Cocoa powder adds a stronger chocolate taste and gives the spread a deeper color. It helps balance the sweetness from the chocolate chips and brings a more intense cocoa flavor to the recipe.
How to Make a Chocolate Peanut Butter Recipe
Cooking Times:
- Preparation Time: 10 minutes
- Cooking Time: 10 Minutes
- Servings: 8-9 servings
Equipment:
- Frying pan
- Blender
- Spatula
- Measuring cup
- Spoon
- Glass jar
Main Ingredients:
- 1 cup raw peanuts (Roasted)
- 1tbsp chocolate chips
- 1 tsp cocoa powder
Step-by-Step Cooking Guide: Chocolate Peanut Butter
Prepare the Peanuts: Start with roasted peanuts for a deeper, nutty flavor. If using raw peanuts, dry roast them until warm and fragrant. Let them cool slightly, then blend. First they turn crumbly, then thick, and finally smooth as the oils release. Scrape the sides so everything blends evenly.
Add Chocolate and Cocoa: Once the peanut butter is smooth, add chocolate chips and cocoa powder. Chocolate chips bring sweetness and creaminess, while cocoa adds a rich, deep chocolate taste. Blend until fully combined, even if the mix looks thick at first.
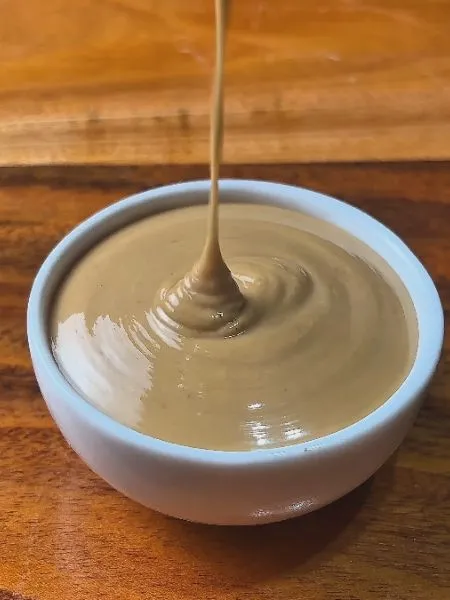
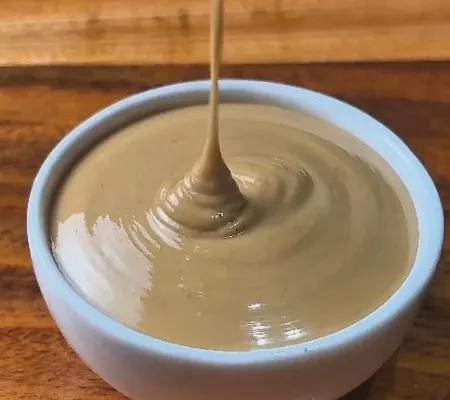
Blend Until Creamy: Continue blending until the texture becomes glossy, smooth, and spreadable. Pause and scrape the sides to remove any dry cocoa or peanut bits for an even finish.
Adjust the Texture: Check consistency before finishing. For a thicker spread, leave it as is. For a softer texture, add a little neutral oil, melted chocolate, or honey. Adjust sweetness or cocoa level based on taste, and add a pinch of salt to enhance flavor.
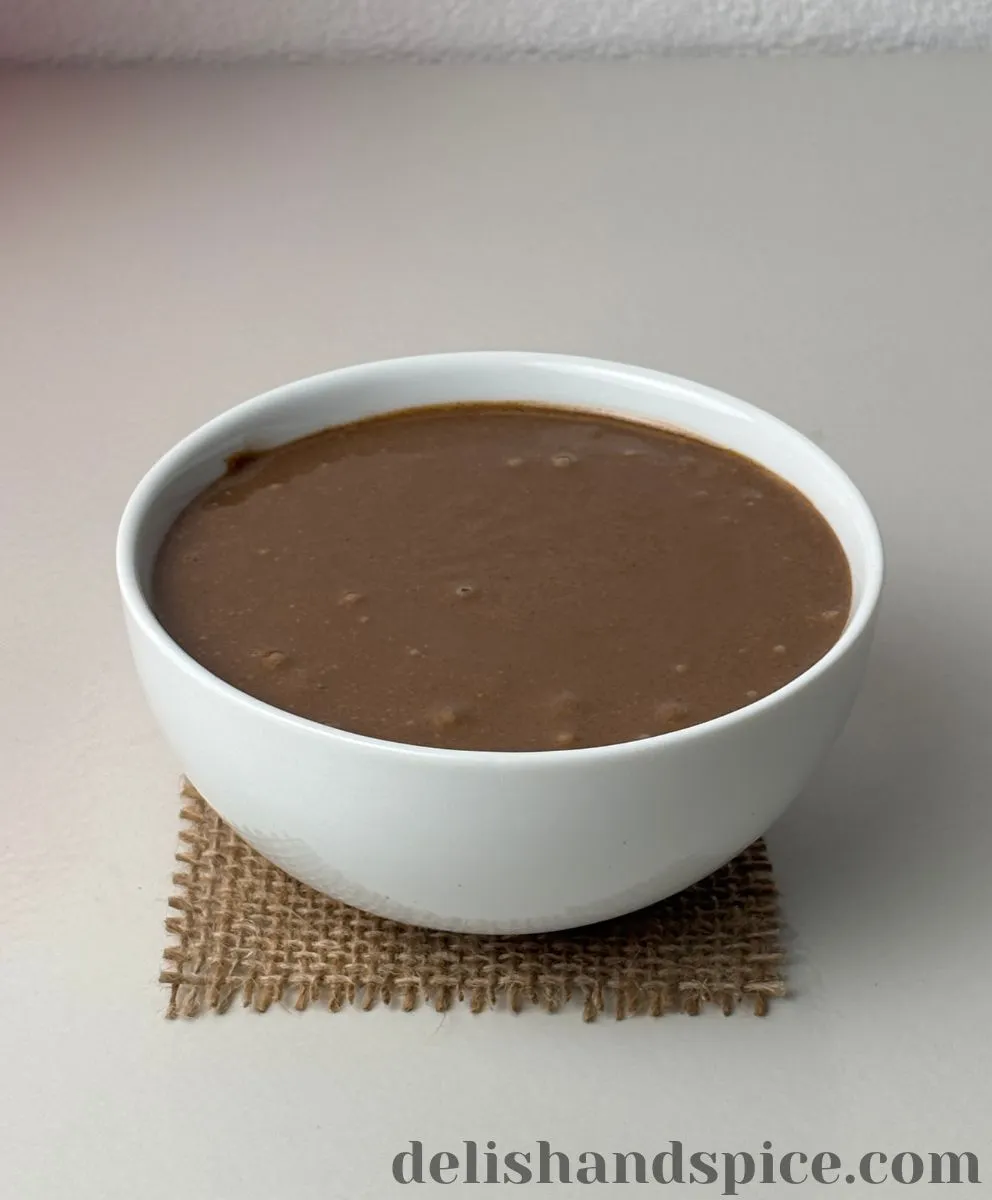
Chill or Serve: Serve immediately for a soft, creamy spread. It works well on toast, pancakes, waffles, fruit, or desserts. For a firmer texture, refrigerate for 20–30 minutes in a clean glass jar until set.
Storage and Shelf Life for Chocolate Peanut Butter
Homemade chocolate peanut butter stays fresh when stored properly. The mix of peanuts, chocolate, and cocoa can make it firm up in the fridge, but the taste stays rich, nutty, and smooth.
How to Store in the Fridge
Let it cool completely before storing. Transfer it into a clean glass jar or airtight container and seal it tightly. This keeps the flavor intact and prevents it from absorbing other fridge smells. Always use a clean, dry spoon when serving. Even a little moisture or crumbs can reduce freshness and affect texture over time.
How Long Does It Stay Fresh
When stored correctly in the fridge, it usually lasts around 2 to 3 weeks. For the best flavor and creamy texture, it’s best enjoyed within 1 to 2 weeks. If you notice a sour smell, off taste, color change, or any mold, it should be discarded immediately.
Best Container to Use
A glass jar with a tight lid works best. Glass helps preserve the natural flavor and doesn’t hold odors like plastic sometimes can. A food-safe airtight container is also fine, as long as it’s completely clean and dry before use—any moisture can shorten shelf life.
Chocolate Peanut Butter Variations to Try
- Classic Smooth Peanut Butter
- Crunchy Peanut Butter
- Chocolate Peanut Butter
- Honey Peanut Butter
- Salted Peanut Butter
- Vegan Peanut Butter
- Spiced Peanut Butter
- Protein Peanut Butter
How to Use Chocolate Peanut Butter
- Spread on toast
- Dip for fruits
- Filling for cookies
- Topping for pancakes
- Mix into oatmeal
- Use in smoothies
- Drizzle over ice cream
Frequently Asked Questions: Chocolate Peanut Butter
Can I use natural peanut butter?
Yes. Natural peanut butter works nicely in chocolate peanut butter. Stir it well first, since the oil often separates in the jar. If the spread feels too thick, mix in a little peanut oil or melted coconut oil until it becomes smooth and creamy.
Is chocolate peanut butter healthy?
It can be a better homemade option when you keep the ingredients simple. Peanuts add protein and healthy fats, while cocoa gives a deep chocolate flavor. For a lighter version, use dark chocolate, add less sweetener, and enjoy it in small servings.
Can I use melted chocolate instead of cocoa powder?
Yes. Melted chocolate makes the spread creamier, sweeter, and more dessert-like. Let the chocolate cool slightly before blending so it mixes evenly and keeps the texture smooth.
Can I make this recipe vegan?
Yes. Use dairy-free chocolate chips or vegan dark chocolate. Also check that your peanut butter has no dairy-based additives. For sweetness, maple syrup, dates, or coconut sugar work well.
YOU MAY ALSO LIKE...

Anupam
Before I even start cooking, I taste-test everything to make sure it’s spot-on. Then, I break it down for you with everyday essentials, nutrition info, and simple, step-by-step instructions. From breakfast to dinner, I walk you through each stage so cooking becomes easy, fun, and stress-free.
Read More