
Chocolate Chip Cookies Recipe

Please read our Privacy & Disclosure Policy disclosure policy.
Chocolate Chip Cookies are a classic homemade treat with crisp edges, soft centers, and sweet chocolate in every bite. They are simple to make and need common pantry ingredients. A warm batch can turn an ordinary afternoon into a special snack. I like to make these cookies when I want something quick without spending hours in the kitchen. The dough comes together in one bowl, and the cookies bake in about 10 minutes. You can enjoy them warm with milk, coffee, or tea, or save them for later. With a few simple steps, you can make bakery-style cookies at home.
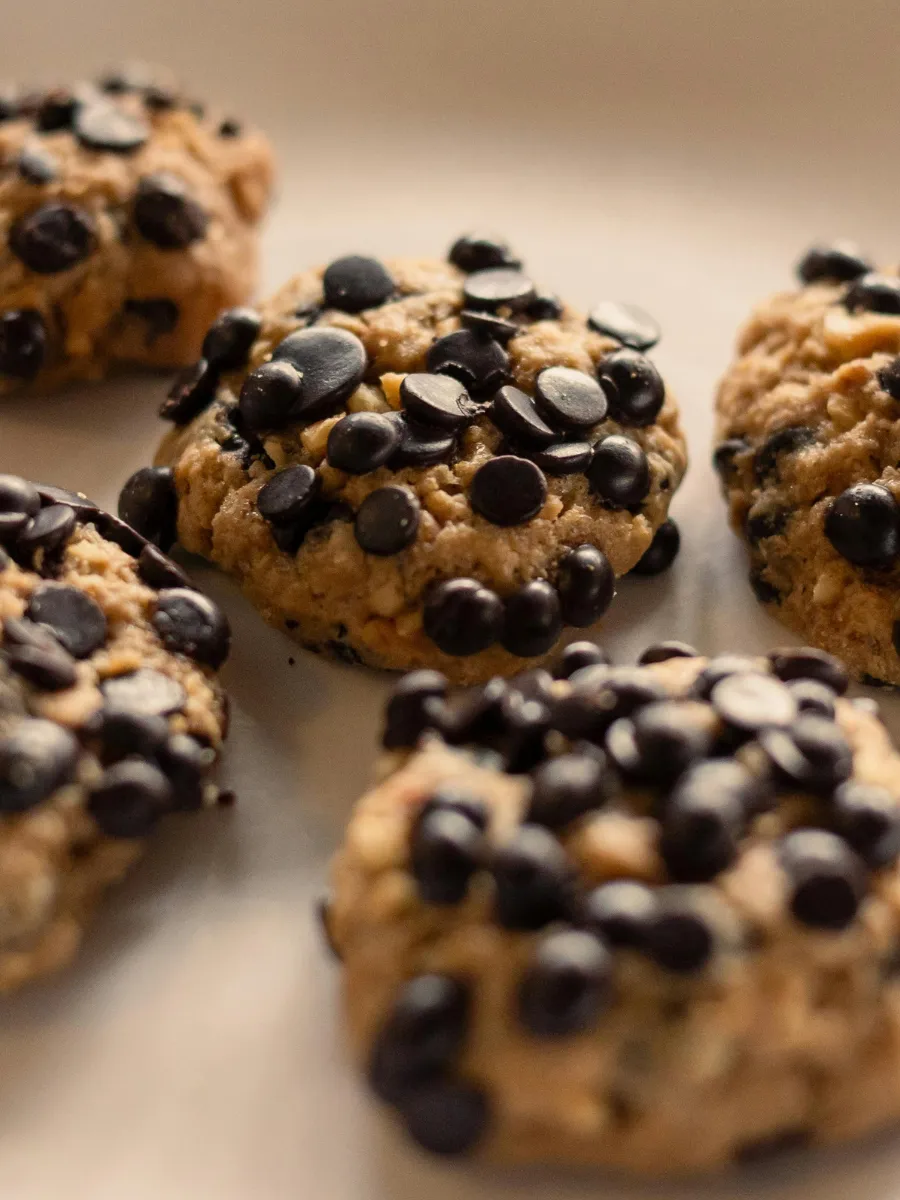
What Are Chocolate Chip Cookies?
Chocolate Chip Cookies are small baked cookies made with butter, sugar, flour, eggs, and chocolate chips. Most recipes use both brown sugar and white sugar for a mix of soft texture and crisp edges.
The butter adds rich flavor, while chocolate chips melt slightly during baking. You can use semisweet, milk, or dark chocolate chips based on your taste.
Ingredients
- 1 cup unsalted butter, softened
- ¾ cup brown sugar, packed
- ½ cup granulated sugar
- 2 large eggs
- 2 teaspoons vanilla extract
- 2 ¼ cups all-purpose flour
- 1 teaspoon baking soda
- ½ teaspoon salt
- 2 cups semisweet chocolate chips
Instructions
- Heat the oven: Set the oven to 350 F. Line two baking sheets with parchment paper.
- Mix the butter and sugars: Beat the softened butter, brown sugar, and granulated sugar until smooth and creamy.
- Add eggs and vanilla: Mix in the eggs one at a time. Add vanilla extract and mix until combined.
- Combine dry ingredients: In another bowl, whisk together flour, baking soda, and salt.
- Make the dough: Slowly add the dry mixture to the wet mixture. Stir just until no dry flour remains.
- Add chocolate chips: Fold the chocolate chips into the dough.
- Shape the cookies: Scoop about 2 tablespoons of dough for each cookie. Place the dough balls about 2 inches apart on the baking sheets.
- Bake: Bake for 9 to 12 minutes, until the edges look lightly golden and the centers still look soft.
- Cool: Let the cookies rest on the baking sheet for 5 minutes. Move them to a wire rack to cool completely.
Essential Note
Use softened butter, not melted butter, for a thicker cookie with a better shape. If the butter feels greasy or very warm, place it in the refrigerator for a few minutes before mixing.
Do not pack flour tightly into the measuring cup. Spoon flour into the cup and level the top with a knife. Too much flour can make cookies dry and hard.
Avoid overmixing the dough after adding flour. Mix only until the ingredients come together. Too much mixing can make the cookies less tender.
Leave enough space between each dough ball because the cookies spread while baking. Bake one test cookie first if you are unsure about the oven temperature or cookie size.
The centers should look slightly underbaked when you remove the cookies. They will continue to cook from the heat of the baking sheet as they cool. If you wait until the centers look fully baked, the cookies may become too firm.
Recipe Notes
For softer cookies, use more brown sugar and avoid overbaking. Chill the dough for 30 minutes if you want thicker cookies with less spreading.
Cooking Tips and Tricks
Use room-temperature butter so it mixes smoothly with the sugars. Measure flour carefully because extra flour can change the texture. For thicker cookies, chill the dough before baking. Use parchment paper to help prevent sticking and promote even browning. Keep the dough balls similar in size so they bake at the same rate. Do not crowd the baking sheet. The cookies need space to spread. Watch the edges closely near the end of baking. Remove the cookies when the edges turn light golden but the centers remain soft. Let them cool on the baking sheet for a few minutes before moving them. Store cooled cookies in an airtight container to help maintain their texture.



Anupam
Before I even start cooking, I taste-test everything to make sure it’s spot-on. Then, I break it down for you with everyday essentials, nutrition info, and simple, step-by-step instructions. From breakfast to dinner, I walk you through each stage so cooking becomes easy, fun, and stress-free.
Read More